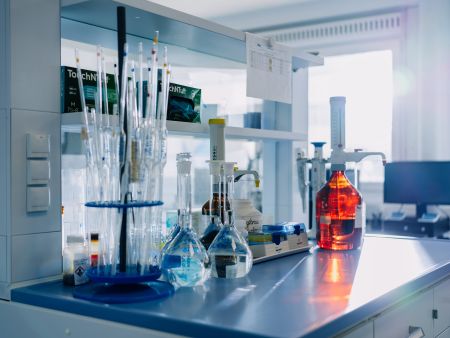
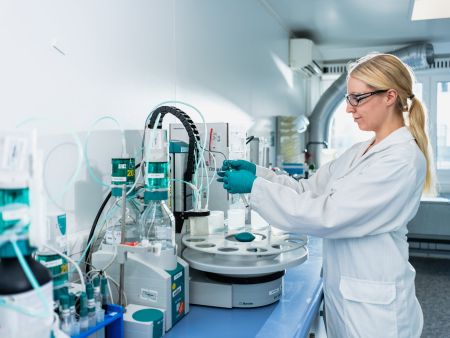
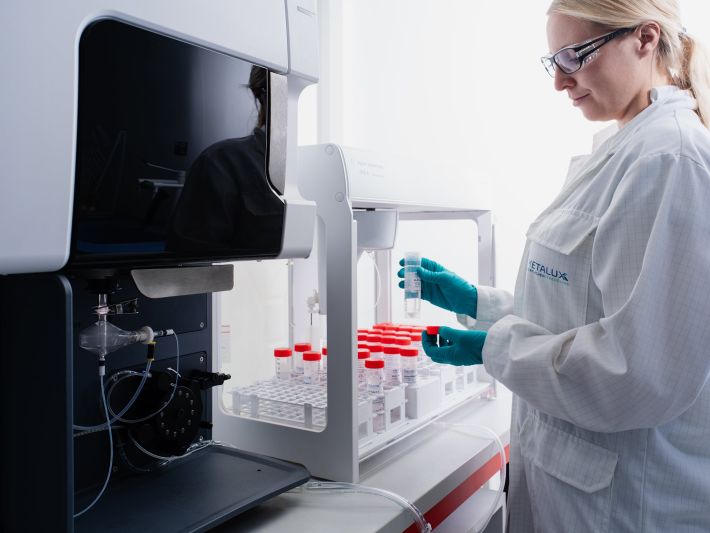
Our in-house laboratory makes sure that your components are monitored for quality from the start. In addition to daily analyses of the baths in the various finishing processes, the laboratory directs all prescribed quality, process, and results inspections and also carefully documents them for you. In this case, state-of-the-art devices are used to ensure consistent quality of analysis.
We offer our laboratory analyses as a service to our customers in order to guarantee the highest levels of process reliability for components.
Our analyses and testing procedures always revolve around quality. This is why we use only the most up-to-date equipment that guarantees constant analyses quality.
We possess:
We ensure our quality by
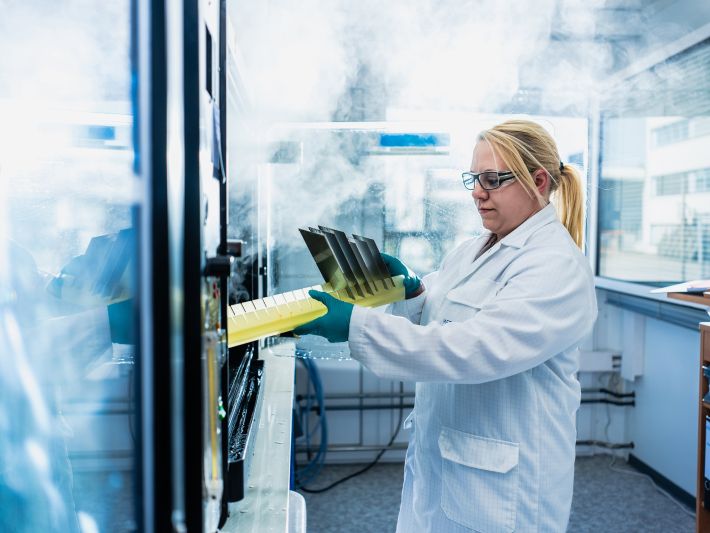
This is where the daily analyses of the baths for the various finishing processes take place. We also carry out the prescribed tests on the treated products and document all tests.
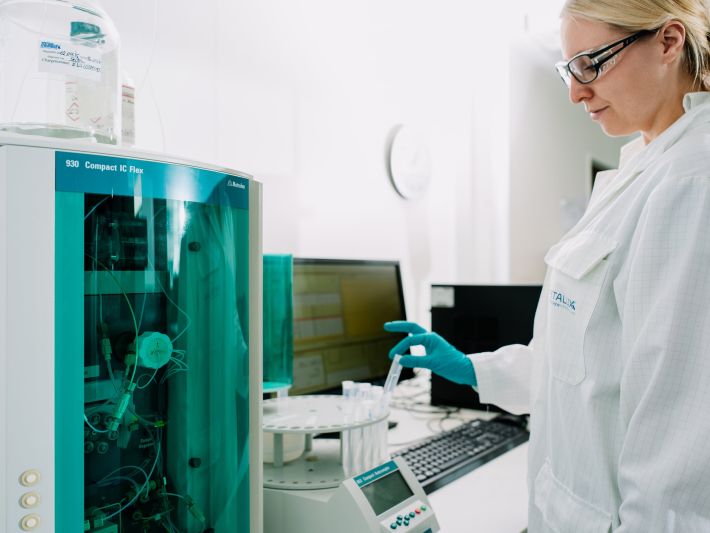
In our analytical laboratory, we can determine the smallest quantities of ions qualitatively and quantitatively with the high-precision Metrohm 930 Compact IC Flex ion chromatograph. This allows us to identify different anions like nitrate, sulphate or fluoride, in-house.
The state-of-the-art ICP-OES spectroscope is also able to determine minute quantities of ions qualitatively and quantitatively. So we identify different cations like aluminium, iron, chromium – or also anions like phosphate and sulphate.
During process monitoring, we carry out corrosion tests in our VLM 400-FL and VLM 400-S salt spray chambers. The chambers are used regularly under standard conditions to check the baths.
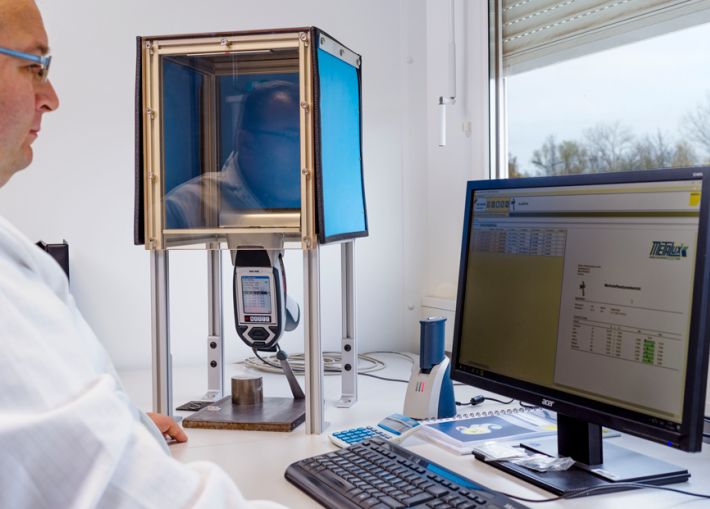
Our XRF Thermo Fischer Niton XL3t is used for process monitoring. It determines metals locally in alloys or layers and thus helps to check test panels or specific layers.
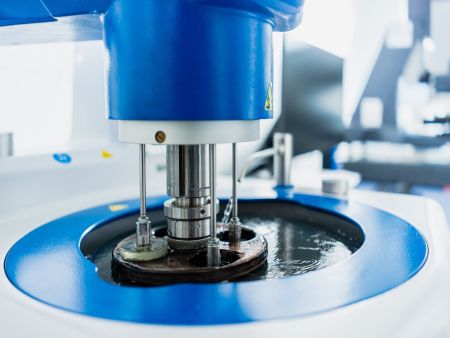
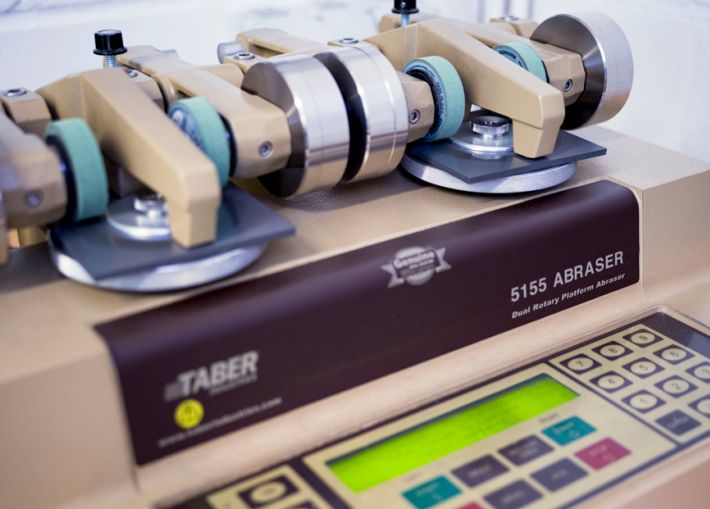
During process verification, we use the Taber abrasion test to determine the abrasion and wear resistance of certain coatings. The test is regularly used by us under standard conditions in the process verification of the baths.
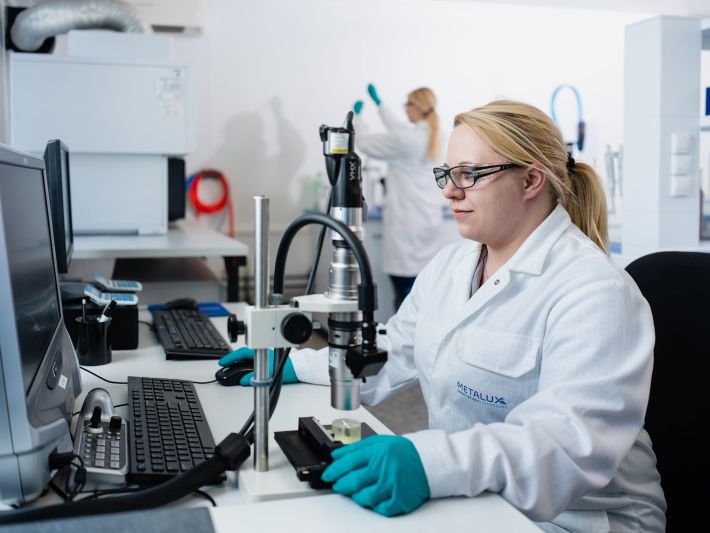
State-of-the-art digital microscopes are used to monitor the processes. This allows the smallest structures, such as etching pits or pores, to be made visible. With the appropriate software, the surface topography can be visualised in the micrometre range
Sportplatzweg 20
68804 Altlußheim
Mon – Fri 07:00 to 16:00.
Other times possible by arrangement.
Fax: +49 6205-390-129
info@metalux.de
Legal Information